Tutorial - Update the cement module
Tutorial - Update the Cement Module
Description
When a new version of the cement module is available, and it is downloaded in the general Module directory of HPx (HYDRUS 5.x; see tutorial Install cement module), the files of the module in an existing project can be updated.
You will learn to
To update the cement module
Depends on
Tutorial - Create Managed Project with Cement Module
Update the module in an existing project
Click Open meta data project button 
Click Module Manager button 
Check Cement Module
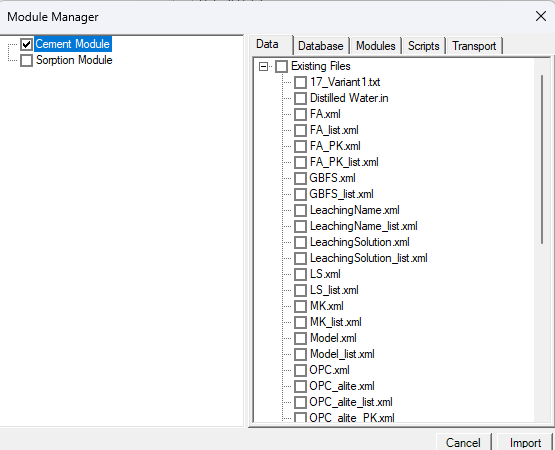
It will recognize that the module is already imported and will list for each sub folder of the module new files (not present in the project) and existing files (see figures below). The user can select existing files should be replaced.
In the figure below, the files in the folder Data will not be replaced (by default) – these files can contain project-specific information defined via the graphical user interface.
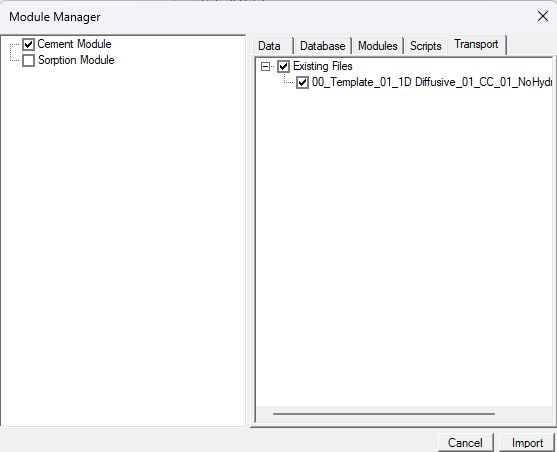
By default, existing files in the Data, Database and Scripts folders are not replaced (but can be overruled by checking the checkbox). Files in Modules and Transport will be replace.
The default options (as described above) are used.
Click Import
Click OK
END Update the Cement Module